You’ve just bought a new propeller, now what? What’s next after buying a new prop?
The answer goes far beyond simply hitting the water. To unlock peak performance and protect your investment, there are a few post-purchase steps every boater must follow.
Start by installing the prop securely, checking for a proper fit and balance. Test it at low speed first to ensure smooth performance and overall safety.
In addition, don’t forget to verify torque specifications, monitor for unusual vibration, and listen for any odd noises or resistance before going full power.
In this guide, we’ll show you 7 essential steps that will help you install, test, and fine-tune your new propeller for maximum speed, efficiency, and durability.
Therefore, please keep reading to learn how to install and maintain your new propeller for optimal performance properly!
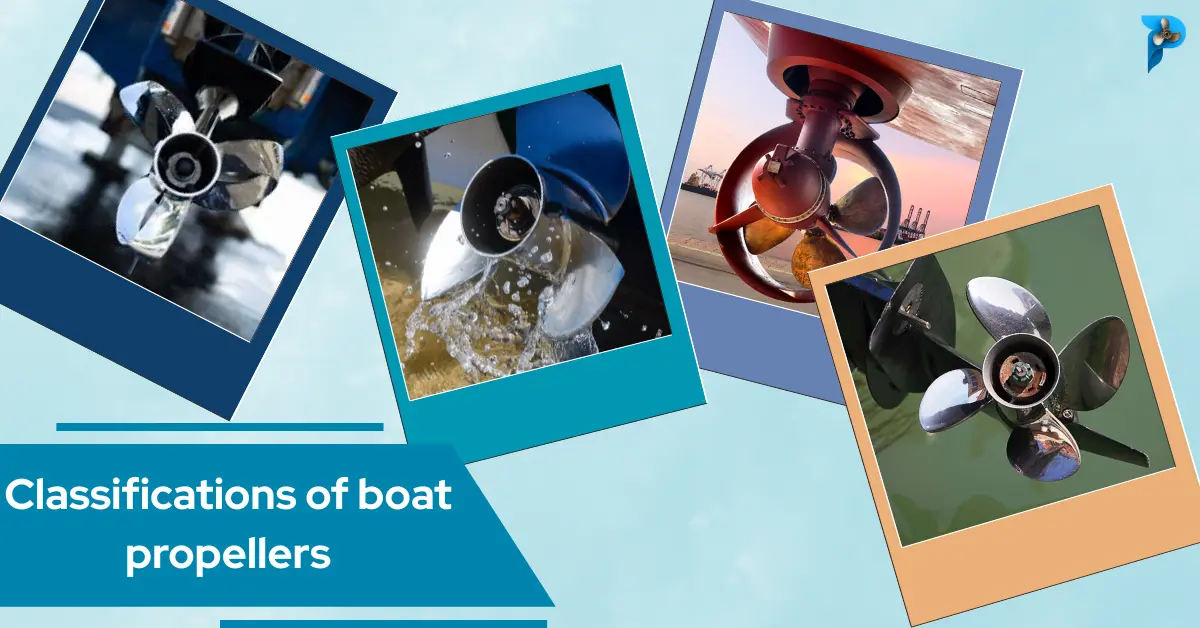
Inspect the Propeller for Defects & Fitment
Before installing your new boat propeller, take the time to thoroughly inspect it. Even the slightest defect or incorrect fit can result in poor performance, engine damage, and costly repairs. Here’s how to make sure your new prop is ready.
1. Correct Size, Pitch, and Diameter
Selecting the incorrect propeller diameter, pitch, or size for your boat is one of the most frequent installation mistakes.
You may encounter issues like a decreased top speed, slower acceleration, or poor fuel economy if the propeller is too big or too small, or if the pitch isn’t appropriate for your boat.
Action Step: Verify the recommended propeller specs for your boat model from the manufacturer.
For your engine type and intended use, be sure the diameter, pitch, and size are appropriate.
To ensure you choose the correct propeller, refer to a propeller size chart or consult a propeller expert.
2. Visible Scratches, Dents, or Imperfections
Any visible scratches, dents, or nicks on the propeller could significantly affect its performance.
These flaws can cause vibrations, drag, and decreased fuel economy. Even minor dings on the blade can result in reduced speed and acceleration,
Action Step: Carefully examine the propeller’s hub, blades, and tip. To prevent future performance problems, replace the propeller if there are any obvious flaws.
3. Proper Hub Alignment
A loose or misaligned hub is another major cause of propeller issues.
If the hub isn’t securely attached to the propeller shaft or isn’t centered properly, it will lead to vibrations and reduce boat performance.
Action Step: After inspecting the propeller, make sure that the hub is firmly aligned and secured.
If you notice any signs of slippage or looseness, the propeller may need to be reinstalled or replaced.
Always compare your old propeller with the new one before installation. By doing so, you can ensure that the new boat propeller fits correctly and matches the manufacturer’s specs.
How to Install a Boat Propeller Correctly?
Installing a new boat propeller may seem simple, but the right installation is key to ensuring peak performance and avoiding costly repairs.
Here’s a detailed, step-by-step guide to ensure your new prop is installed correctly, followed by common mistakes you must avoid.
1. Carefully Remove the Old Propeller
Before you install the new one, please remove the old one gently without damaging the shaft.
Sometimes, old propellers get stuck; in that case, don’t pull or twist it by force, use a propeller puller instead.
Then, please check for any damage or rust on the propeller shaft that can affect your new one.
If you notice any rust or debris on the shaft, please use a clean rag and degreaser to wipe off the substances to create a smooth surface for the new one!
2. Apply Marine Grease to the Shaft
If you often operate in saltwater, please use marine-grade grease like STAR BRITE Trailer Grease on the shaft.
It prevents corrosion and creates a barrier between the shaft and propeller.
Don’t overdo it, just apply a light coat of grease. Overdoing it can attract dirt and debris in the shaft.
3. Check if the New Propeller Fits Properly
Make sure to give a second check on the new propeller’s size, pitch, and diameter. Also, check if it’s designed for your boat’s purpose and specifications.
A mismatched propeller can lead to inefficient performance and poor fuel economy.
Compare the old and new propellers side by side to ensure they match. If you are still confused, please check a propeller size chart for confirmation.
4. Install the New Propeller
Now, slide the new propeller onto the shaft. Make sure that the keyway on the shaft and the propeller are aligned correctly.
This step is highly essential to have proper alignment and will prevent the propeller from slipping under heavy load.
Check that the hub of the propeller fits snugly onto the shaft. Make sure there is no gap or slippage.
5. Use a Torque Wrench to Tighten the Prop Nut
After aligning it with the shaft, please tighten the propeller nut to the manufacturer’s specifications. Use a torque wrench to tighten it.
However, please don’t over-tighten it as it can highly damage the propeller shaft as a result. It can cause vibration and resulting engine damage.
Always check your boat’s propeller torque specs in the manual. Follow the recommended torque settings precisely for the best result.
6. Secure it with a Cotter Pin
Now, after tightening the nuts, insert the cotter pin through the nut and shaft, then secure it. This prevents the propeller nuts from shifting or moving during vibration or movement.
Make sure the cotter pin is bent properly to ensure it stays in place. If it’s damaged, please replace it with a new one.
7. Double-check the Propeller Alignment
After you finish the installation, please check again for proper alignment. Make sure everything is on point and the propeller is moving freely without friction.
8. Perform a Test Run
Finally, take your boat out for a test run. Pay close attention to how your boat performs and the comparison with the previous one.
Any strange sounds or performance drops might suggest that further adjustments are needed.
What’s next after buying a new prop: Conduct a Test Run
After installing your new boat propeller, it’s time for the real test-taking your boat out on the water.
A test run is crucial for ensuring that the propeller is functioning properly. Here’s how to perform a proper test run, what to check for, and how to spot potential issues.
1. Start Slow
Before going all out on water, please start at low speed. Accelerate it at low speed to make sure the boat is functioning fully and smoothly.
It allows for monitoring any engine issues and engine behavior to avoid immediate damage.
The reason for going slow is that at high speed, you can’t monitor issues like improper propeller sizing or misalignment.
2. Check the RPM Range
Most experts and boat enthusiasts claim that the RPM range should typically be between 5000-6000 RPM for most outboard engines.
A boat owner with a 150 hp Yamaha engine from The Hull Truth mentioned that their new propeller (17-pitch) caused their engine to hit an RPM of 6200 during the first run, higher than the manufacturer’s recommended range.
Then, the user adjusted the propeller pitch to a 15-pitch. It brought the RPM back into the ideal range of 5500 RPM with full performance.
3. Monitor Speed and Acceleration
Speed and acceleration are two of the most important performance indicators. Check if your boat is getting on plane efficiently.
On The Hull Truth, a member with a 24-foot Bayliner explained that after installing a new prop, their boat would struggle to get on the plane.
After testing different propeller sizes, they settled on a 15-pitch propeller and noticed a dramatic improvement in getting on the plane quickly.
Several members confirmed that when their boat had trouble getting on the plane, they had either too high a pitch (which hurt acceleration) or needed a prop with a greater diameter.
4. Check for Vibrations
Please pay attention to any vibrations or strange noises while running the boat.
These could indicate issues such as misalignment, an improperly installed propeller, or even damaged components.
A boater from The Hull Truth shared that, after replacing a damaged propeller with a new one, their boat still had slight vibrations.
They found that the torque specs were off, and once they corrected the tightening sequence using a torque wrench, the vibrations ceased completely.
Optimize Performance with Fine-Tuning
Adjusting trim settings, managing weight distribution, and making propeller pitch adjustments can have a huge impact on your boat’s speed, fuel efficiency, and overall performance.
1. Proper Weight Distribution
Proper weight distribution on your boat is essential for smooth operation and preventing issues like cavitation.
Cavitation can cause a loss of power, poor acceleration, and excessive wear on your propeller.
Make sure that the weight is evenly distributed across the boat. Uneven weight can cause the propeller to break the water’s surface. It leads to cavitation and reduced propulsion.
If you notice cavitation, try adjusting the boat’s trim or redistributing weight in the boat.
Sometimes, lowering the trim can help the propeller stay fully submerged. It allows smoother operation and peak performance.
2. Adjust Trim Settings
The trim of your boat controls the angle of the outboard motor with the hull. Adjusting the trim can drastically affect your boat’s performance.
Trim Up for Speed
To increase your boat’s top speed, trim the motor up (tilt it higher). When the propeller is more exposed, it creates less drag and strain on the engine, and it allows the boat to glide more efficiently through the water.
This is especially useful during full-throttle runs or when you’re aiming for maximum speed.
Trim Down for Stability
If you’re cruising at lower speeds or dealing with choppy waters, trimming the motor down will help increase the boat’s stability. A lower trim provides better control and grip on water.
3. Pitch Adjustments
The pitch of your propeller plays a critical role in determining your boat’s speed, acceleration, and fuel efficiency.
Slow? Reduce Pitch
If you’re not reaching your desired acceleration, reducing the propeller pitch can help. A lower-pitch propeller allows your engine to accelerate faster. This is particularly helpful for water sports or when towing.
High RPM? Increase Pitch
If your RPMs are running too high, it might be a sign that the pitch is too low. Increasing the pitch allows the engine to run at a more optimal speed, improving fuel economy.
Regular Maintenance to Extend Lifespan
With just a few simple, ongoing maintenance practices, you can avoid costly repairs and maximize the efficiency of your propeller.
1. After Each Use: Rinse and Remove Debris
One of the simplest and most effective practices for boat propeller maintenance is to rinse your propeller after every outing.
- Rinse with fresh water to remove salt, dirt, and debris. Saltwater exposure is one of the leading causes of propeller corrosion.
- Debris, such as seaweed, grass, or rocks, can get caught in the propeller and reduce performance.
2. Small Dents? Smooth Them Out
If you notice small dents or imperfections in your propeller, it’s essential to address them before they worsen.
- For minor dings or dents, use a fine file or sandpaper to smooth them out. Small imperfections can create air bubbles or drag, which affects the performance.
- If the damage is more severe or if you notice cracks or deep gouges, it’s best to seek professional repair services.
3. Monthly Check: Inspect for Dings, Corrosion, and Bent Blades
Inspecting your propeller regularly for damage is vital for propeller maintenance. Small imperfections can quickly lead to bigger problems if left unchecked.
- Over time, your propeller may develop small dings or scratches. These imperfections may seem minor, but can lead to vibrations or inefficient performance.
- Saltwater and moisture can quickly cause propeller corrosion. It leads to damage and reduced performance.
- A bent propeller blade can cause uneven performance and vibrations, ultimately leading to engine strain.
4. End of Season: Remove, Grease, and Store Properly
Once the boating season ends, proper storage and maintenance of your propeller can make all the difference.
- At the end of the season, it’s essential to remove your propeller for proper care and storage. By removing the propeller, you can address any corrosion or minor issues that may have developed during the season.
- One of the most important steps in boat propeller greasing is to apply a thin layer of marine grease to the shaft before storing it. It helps to prevent corrosion.
- Proper propeller storage for winter is essential to prevent any rust or corrosion from forming. Store your propeller in a dry place away from moisture.
Always Carry a Backup Propeller
A spare propeller is not just a luxury; it’s a necessity to ensure you don’t find yourself in a situation where your entire boating experience is ruined. Here’s why a spare propeller is a must-have for emergencies.
Emergency Repairs Made Easy
Whether you’re far offshore or on a peaceful lake, a spare propeller can save you from being stranded. With the right tools, swapping a propeller is quick and easy.
Cost-Effective
Having a backup saves you from costly emergency repairs. Emergency propeller replacement can be expensive, especially if you’re in a remote location with limited repair options. Therefore, being prepared helps you avoid those extra costs.
FAQs
Why is my boat’s propeller loose?
A loose boat propeller is often caused by an incorrectly tightened prop nut, a missing or damaged cotter pin, or a worn hub.
If the nut isn’t tightened to the manufacturer’s torque specs, it can lead to slipping and even complete detachment.
Always ensure the prop nut is properly tightened.
How to prevent boat propeller corrosion?
To prevent propeller corrosion:
- Rinse your propeller with fresh water after every use to remove salt and debris.
- Apply anti-corrosion sprays or marine grease to the blades and shaft.
- Store in a dry, cool place when not in use.
- Consider using a stainless steel propeller, which is more resistant to corrosion than aluminum.
Can I replace a boat propeller myself?
Yes, you can replace a boat propeller by yourself as a DIY, only if you have the right tools.
Make sure to clean the shaft, apply marine grease to prevent corrosion, and tighten the nut according to the manufacturer’s torque specs.
If you’re unsure about installation or fine-tuning, it’s a good idea to consult a marine mechanic for advice.
Bottom Line
Purchasing a new boat propeller is a great upgrade, but without proper installation and adjustments, even the best prop can underperform. It can impact fuel efficiency, speed, and overall performance.
To ensure your investment pays off, follow the key steps of proper installation, testing, and maintenance.
Don’t make the #1 mistake: installing a propeller without first verifying its RPM range, alignment, and performance on the water.
Start by inspecting your new propeller before installation to ensure it’s in perfect condition. Install it correctly using marine grease and a torque wrench to prevent issues down the line.
Perform a test run for the best boat performance possible. Finally, don’t forget the regular maintenance to keep your propeller in optimal shape.
By following these essential steps, you’ll maximize your investment and enhance your boating experience.